Tuesday, 13 November 2012

Bonfire Cupcakes (Chocolate & Ginger)

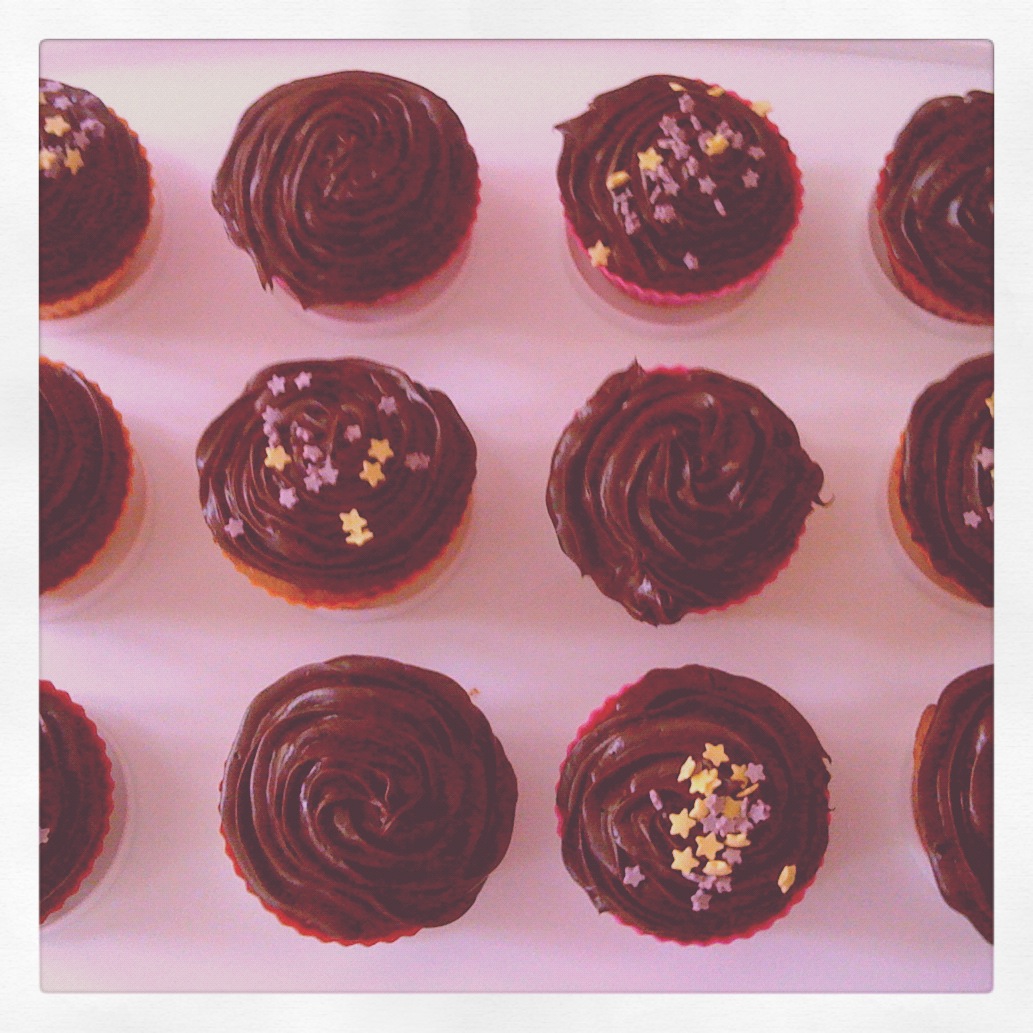
I decided to make these for a fireworks party but I think they're a great autumn/winter cake. I tried to base these cakes on the posh ginger buscuits (covered in dark chocolate) that you tend to get around this time of year. Chocolate is always a winner but with the little bit of heat that the ginger gives these feel like a warm fire. They're also great fun to decorate because, since it is a bonfire, you can use lots of glitter :)

Ingredients:

200g Butter or Margarine
200g Caster (Golden) Sugar
170g Self-raising flour
30g Cocoa Powder (Mixed with 2 tbs of milk to form a paste)
4 eggs
Pinch of Salt
1 tsp Baking Powder
2-4 tsp Ground Ginger (Depending on how gingery you want it)

Method:

1. Preheat oven to 180°c or Gas Mark 5.
2. Cream butter and sugar together. Then stir in the cocoa powder paste till it's all combined.
3. Whisk eggs in a separate bowl to get lots of air in.
4. Weigh all the dry ingredients in another bowl and mix together. At this point add 2, 3 or 4 tsp of ground ginger. I think 3 would probably be the right amount and then add more if you want it to be more firey or less if you're not too keen on too much ginger.
5. Then add about a quarter of the eggs. Beat together and add some flour if the mixture starts to curdle. Keep doing this until all the egg is combined with the butter and sugar.
6. Slowly add the rest of the flour and fold in with a large metal spoon so not to overwork the gluten, this will help your cupcakes rise.
7. Spoon the mixture into the cupcake cases, a little over half way to account for rising. Try and make sure they're all level so you can achieve a nice effect when they're displayed.
8. Bake for between 15 - 20 minutes depending on how big your cupcakes are.
9. Once you take the cupcakes out of the oven leave them to cool for five minutes before transferring to a cooling rack.
10. Leave to cool completely before decorating otherwise your hard work will just melt!

For decoration this is entirely up to you but I can let you know what I did for the cakes below. I used a ready made icing (Betty Croker Chocolate Buttercream Style icing) because it has a rich chocolate flavour and it needed to be used up from the cupboard. I then grated Green & Blacks Ginger chocolate on top of the icing and added plenty of glitter. I then finished the cakes off by sprinkling crumbled ginger buscuits on top. Then look firey and add more to the giner flavour.

- Emma xxx


Sunday, 28 October 2012

Chocolate and Banana Cupcakes

Now this recipe is an adaptation of my carrot cake recipe. Now I've just listed banana and chocolate as the flavour but you can add walnuts to give the cake an extra crunch.

Ingredients:

250g Banana's
250-300g Chocolate Chips (Dark and Milk)
150g Margarine
200g Self-raising Flour
200g Brown demerara sugar
2 large eggs
1/2 tsp Salt
1 tsp Vanilla Extract
2 tsp Baking Powder

Method:

1. Preheat Oven to 180°c.

2. Mash the banana's and mix in the vanilla extract.

3. Beat the sugar and the margarine together.

4. Add beaten eggs and the banana to the mixture and whisk to get some air in to the mixture.

5. Combine the dry ingredients together and add them a little add a time to the mixture. Folding the flour in and no trying to overwork the mixture. Once the mixture is combined add the chocolate chips. (If you want to add walnuts add them here)

6. Spoon the mixture either in to 12-18 cupcake cases, 8 mini loaf cases, a loaf tin or a cake tin. This mixture is really great and adjusts well for all forms.

7. Bake for 18 minutes (cupcakes) 20 minutes (mini-loaf) and 25-35 depending on how big the tins are, I would fetch them out the oven when they look like they're starting to go a darker brown.

8. Leave to cool on a baking tray. They don't need to be decorated and icing doesn't go too well with these cakes. Though if you wanted to add a chocolate buttercream I'm sure that would still taste okay.

- Emma xxx


Monday, 25 June 2012

Lemon Drizzle Cupcakes

This recipe was created because I wanted to take some cakes to work and they wanted lemon. I didn't want to make a large one because I would then have to bring a knife! So these are my lemon drizzle cupcakes, building on the vanilla cupcake recipe.I like to use the yellow food colouring because it makes the cakes pop a little bit.

Ingredients:

200g Butter or Margarine
200g Caster (Golden) Sugar
200g Self-raising flour
4 eggs
Pinch of Salt
1 tsp Baking Powder
2 tsp Yellow Food Colouring
3 tsp of Lemon Juice

For the drizzle:

5 tsp Lemon Juice
30g of Caster sugar

Method:

1. Preheat oven to 180°c or Gas Mark 5.
2. Cream butter and sugar together.
3. Whisk eggs in a separate bowl to get lots of air in.
4. Weigh all the dry ingredients in another bowl and mix together.
5. Add the food colouring and lemon juice to the butter and sugar, then add about a quarter of the eggs. Beat together and add some flour if the mixture starts to curdle. Keep doing this until all the egg is combined with the butter and sugar.
6. Slowly add the flour and fold in with a large metal spoon so not to overwork the gluten, this will help your cupcakes rise.
7. Spoon the mixture into the cupcake cases, a little over half way to account for rising. Try and make sure they're all level so you can achieve a nice effect when they're displayed.
8. Bake for between 15 - 20 minutes depending on how big your cupcakes are.
9. Whilst the cupcakes are in the oven prepare the lemon drizzle. Mix the lemon juice and the caster sugar together until completely combined.
10. Once you take the cupcakes out of the oven leave to cool for five minutes before transferring to a cooling rack. Then stab the cupcakes with a cocktail stick, making sure not to stab all the way to the bottom. Then with a cooking brush, brush the lemon drizzle over the cupcakes. Repeat this process twice for each cupcake.
11. Leave to cool completely before decorating otherwise your hard work will just melt! To decorate use icing sugar and lemon juice to form a thick, smooth icing. Spread this over the cupcakes and add sprinkles!

- Emma xxx


Red Velvet Cake

This recipe is basically double the cupcake recipe. It's a huge cake. I've baked it just in one tin, but normally it's baked in two or three. My oven at university isn't big enough for this but I think it worked well in one tin and my friend's birthday cake still looked great!

Ingredients:

250g Butter
600g Sugar
6 eggs
4 tbs Cocoa Powder
1 tsp Red Food Colouring Paste (Or 5 tbs of Red Food Colouring)
380g Self Raising Gluten-Free Flour
270ml Buttermilk
2 tsp Vanilla Extract
Large Pinch of Salt

Method:

1. Preheat oven to Preheat oven to 180°c or Gas Mark 5.
2. Cream butter and sugar together.
3. Soft the Cocoa powder into the butter and sugar and mix well. Once combined at the food colouring and vanilla extract.
4. Add the eggs one at a time and mix well. I would use a whisk at this point to get in as much air as possible.
5. Weigh out the dry ingredients and mix together in a bowl.
6. Then alternate between adding the dry ingredients and the buttermilk, folding in the flour so your don't lose the air.
7. Once the mixture is fully combined, pour the mixture in to the round tins (1-3) making sure to smooth the tops.
8. Put in the over for about 30-50 minutes (depending on how many tins you used) until the mixture is slightly browning on top.
9. Remove the tins and leave to cool in the trays for 10 minutes before transferring to a cooling rack.

10. Once it's fully cooled you can ice and decorate! Traditionally red velvet is made with a cream cheese frosting but because I'm not really a fan (and neither are my friends!) I make them with butter cream. We made this particular cake with vanilla butter cream. So 1 part butter, 2 parts icing sugar and a tsp of vanilla extract. You could cut the cake it half (we didn't have a big enough knife!) and layer buttercream inside the cake as well.

This particular cake I decorated with my friend Harri, it was for our friend Hayley's 21st. We had SO much fun. We used purple ready to roll icing and stuck sugar flowers on the cake. We also made leaves and stems. As you can see the red worked really well with the purple!

- Emma xxx


Sunday, 24 June 2012

Rocky Road

This is my recipe for rocky road. It's really easy to make and it's very difficult not to impress with it. I originally used the Nigella Recipe available on the BBC website but the more I've made it the more I've changed it.

Ingredients:

200g Unsalted Butter
500g Dark and Milk chocolate (depends how rich you want it)
5tsp Golden Syrup
135g Maltesers (One share bag)
100g Chocolate Digestives
100g Marshmallows (Smaller ones rather than the big ones)
Icing Sugar to decorate.

Method:

1. Melt the butter, golden syrup and the Chocolate in a saucepan over a very low heat. I would also melt 10g of marshmallows in there too.
2. Whilst this is melting (make sure to keep a constant eye on it!) Put the digestives in a plastic bag and back with a rolling pin, don't bash so hard that it all becomes crumbs because you do want larger chunks as well.
3. Once the chocolate mixture has completely melted remove about a third and place it in a jug. Then take the rest of the mixture off the heat.
4. Once you've left the mixture for a few minutes stir in the malteasers, chocolate digestives and the rest of the marshmallows.
5. Pour the mixture in to a deep baking tray and level it out. Then with the remaining chocolate mixture pour that over the top. This will create a smoother finish.
6. Once it's cooled a little place in the fridge for at least 3 hours but overnight is best.
7. Once you've removed from the fridge, dust the rocky road with the icing sugar.

- Emma xxx


Friday, 8 June 2012

Gluten-Free Red Velvet Cupcakes

Hi, sorry I haven't posted in a while. I've just been finishing off my degree and I haven't really had time for baking, let alone writing recipes! Anyway, these were inspired by a red velvet cake I made for my friends 21st, I will post the details to this in my next post. I'll also give you a choice of icings because these cupcakes work with either chocolate or vanilla icing.

Ingredients:

125g Butter
300g Sugar
4 eggs (or three large)
2 tbs Cocoa Powder
1/2 tsp Red Food Colouring Paste (Or 3 tbs of Red Food Colouring)
190g Self Raising Gluten-Free Flour (Or 190g of normal Plain Flour with 1/2 tsp bicarbonate of soda)
125ml Buttermilk
1 tsp Vanilla Extract
Pinch of Salt

Plus if you're doing the Gluten-Free Version put in 1 tsp of Gluten-Free Baking Powder.

Method:

1. Preheat oven to Preheat oven to 180°c or Gas Mark 5.
2. Cream butter and sugar together.
3. Soft the Cocoa powder into the butter and sugar and mix well. Once combined at the food colouring and vanilla extract.
4. Add the eggs one at a time and mix well. I would use a whisk at this point to get in as much air as possible.
5. Weigh out the dry ingredients and mix together in a bowl.
6. Then alternate between adding the dry ingredients and the buttermilk, folding in the flour so your don't lose the air.
7. Once the mixture is fully combined, line the cupcake tray with cases and put the mixture into the cases. (I managed to make 20 cupcakes with this mixture but it really will depend on how full your cases are and how big they are)
8. Put in the over for about 18-20 minutes until they're slightly browning on top.
9. Remove the trays and leave to cool in the trays for 5 minutes before transferring to a cooling rack.

10. Once they're fully cooled you can ice and decorate! Traditionally red velvet is made with a cream cheese frosting but because I'm not really a fan (and neither are my friends!) I make them with butter cream. I usually divide them in to chocolate and vanilla so I have contrasting colours.

Ingredients are 1 part butter and 2 parts icing sugar. Once the mixture is light and fluffy add either cocoa powder or vanilla extract.

- Emma xxx


Saturday, 10 March 2012

Gluten Free Cinnamon Cupcakes

I originally did this just before Christmas as I love cinnamon and it just feels so christmassy to me. I've done slight variations like cinnamon and ginger so feel free to add some ginger as well but I thought I'd just give you the basic recipe. I have stated these as gluten free but it's not difficult to change that to normal flour if you don't want to make them gluten free. Decorate as you wish but I tend to use a cinnamon or ginger (or both!) butter cream.

Ingredients:

180g Gluten-free Self-raising Flour
180g Butter or Margarine
180g Demerara Sugar
4 Eggs
1 tsp of Cinnamon (and or 1 tsp of ginger)
1 tsp of Gluten-free baking powder

For the icing:
100g Butter
200g Icing Sugar
1 tsp of Cinnamon (or 1tsp of ginger)

Method:

1. Preheat oven to 180°c or Gas Mark 5.
2. Cream the butter and the sugar together, it won't be as using caster sugar but the brown sugar caramelises well with the cinnamon.
4. Whisk the eggs in a separate bowl and mix really well because gluten free needs help to rise. (I sometimes even separate the eggs and whisk them, the egg whites really help it to rise.)
5. Weigh the dry ingredients in a bowl and stir together.
6. Then about a quarter of the eggs to the butter and sugar. Beat together and add some flour if the mixture starts to curdle. Keep doing this until all the egg is combined with the butter and sugar.
7. Slowly add the flour and fold in with a large metal spoon so not to overwork the gluten, this will help your cupcakes rise.
8. Spoon the mixture into cupcake cases, try and get them all level.
9. Bake for about 15 - 20 minutes depending on how hot your oven gets and how big your cases are.
10. Leave to cool before decorating.

11. For the icing beat the ingredients together until smooth then either spread or pipe the icing on to your cakes.

- Emma xxx

Cupcakes

This is a simple recipe for one of my favourite things to bake (and eat!) I love to decorate them and I always think they look really pretty. Anyway, this is just a simple but full-proof recipe for cupcakes. Either vanilla or chocolate ones. Really easy to bake and then you can have lots of fun decorating them, they work for birthdays, holidays or just because. Makes 12 -18 depending on how big your muffin cases are.

Ingredients:

200g Butter or Margarine
200g Caster (Golden) Sugar
200g Self-raising flour
4 eggs
Pinch of Salt
1 tsp Baking Powder
1 tsp Vanilla extract

For the chocolate version have 180g of self-raising flour and between 20-40g of cocoa powder depending on how chocolatey you want them.

Method:

1. Preheat oven to 180°c or Gas Mark 5.
2. Cream butter and sugar together.
3. Whisk eggs in a separate bowl to get lots of air in.
4. Weigh all the dry ingredients in another bowl and mix together.
5. Add the vanilla extract to the butter and sugar then about a quarter of the eggs. Beat together and add some flour if the mixture starts to curdle. Keep doing this until all the egg is combined with the butter and sugar.
6. Slowly add the flour and fold in with a large metal spoon so not to overwork the gluten, this will help your cupcakes rise.
7. Spoon the mixture into the cupcake cases, a little over half way to account for rising. Try and make sure they're all level so you can achieve a nice effect when they're displayed.
8. Bake for between 15 - 20 minutes depending on how big your cupcakes are.
9. Leave to cool completely before decorating otherwise your hard work will just melt!

Display your cupcakes in a fun way, my favourite is a stand that my mum got us and they just look fantastic.

- Emma xxx
Sunday, 4 March 2012

Shortbread

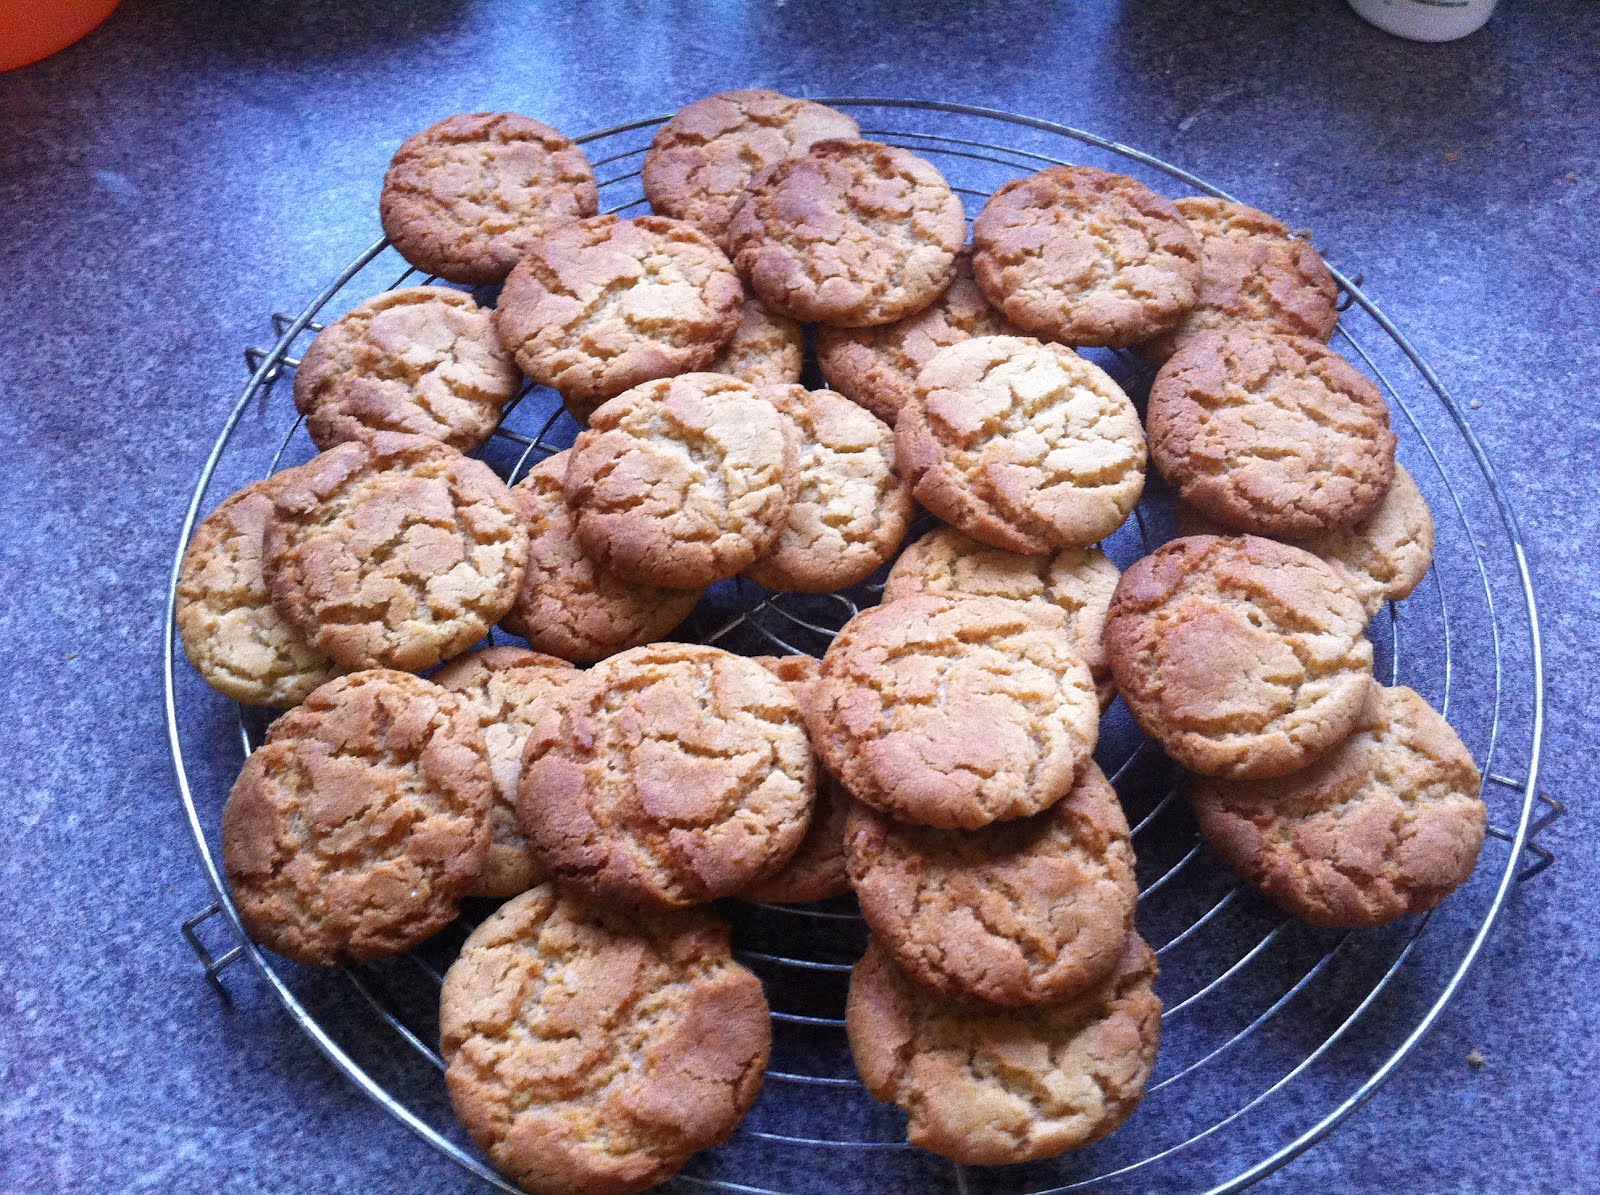
This is a recipe for simple shortbread. This mix usually makes 2 ten inch rounds of shortbread. Add anything you like but I like it plain.

However! (My new favourite ingredient) Chocolate Phillidelphia is lovely spread on the top.

Ingredients:

100g Caster Sugar
200g Cold Butter
300g Plain Flour

Method:

1. Preheat oven to 160°c or Gas Mark 4.
2. Dice the butter and place in a bowl.
3. Rub the flour into the butter with your fingertips until it looks like breadcrumbs.
4. Stir in the caster sugar but don't overwork it and don't squish it together, let it resemble crumbs.
5. Add any other ingredients at this point like currants or chocolate chips.
6. Put half the mixture in each round tin (or whatever you want to use) Don't pat down too much but smooth it out. Then pat down around the edges.
7. Sprinkle some extra caster sugar on top of each round before putting in the oven.
8. Bake in the oven for about 30-35 minutes until it just starts to brown.
9. Remove from the oven and leave to cool before cutting up.

- Emma xxx

Thursday, 23 February 2012

Caramelised Onion Sausage Rolls

My favourite type of sausage is caramelised onion and the inspiration for this recipe came out of this favourite. It's really simple and I'll even allow you to buy the pastry. This is simply because no one really has enough time to make puff pastry unless they have all day. Anyway, have it with anything at dinner, mash goes well and it's even great the next day for lunch! This recipe is for 4 sausage rolls.

Ingredients:

400-500g of Sausage meat (Or 8 de-skinned sausages)
2 large onions
1 tbs of Brown Sugar
Pinch of Salt
Good Helping of Pepper
And herbs or your choosing
(I even add a couple of cubes of chopped frozen spinach to the onions)

1 Jus-roll Puff Pastry Block

Method:

1. Preheat oven to 200°c or Gas Mark 6.
2. Dice your onions and cook with oil in a pan.
2. Once the onions are browning add the sugar and caramelise the onions. (Once they're caramelised I add the spinach)
3. Empty the sausage meat in to a bowl and add the salt, pepper and herbs. Stir well.
4. Then add the onions (and spinach) and stir well to make sure it's mixed well.
5. Cut the puff pastry block in to quarters.
6. Roll each quarter of pastry in to a rectangle and place a quarter of the sausage mixture at one end of the pastry. Roll the pastry and crimp at the edges. Repeat this four times.
7. Place the 4 rolls on a baking tray and bake for about 25 minutes or until golden brown.
8. Serve with whatever you like!

I would bare in mind that these sausage rolls are quite big but you could use these ingredients and method to make smaller ones if you wish!

- Emma xxx

Caramel (Millionaire's Shortbread)

The outcome of this recipe is my favourite. If I was given the question of "You can only have ONE recipe, which one?" I would choose this. It's my granny's recipe and every time we visit it's there (along with the potato scones) and sometimes it might not even be Scotland without it. The actual name for this is Millionaire's Shortbread but I guess that's hard to say when you're 4 so it's 'Caramel' to me and all of my Dad's family. I will never be as good as my granny at making it but I haven't been making it quite as long. The original recipe is in ounces but I'll also give a grams equivalent. It's quite a tricky recipe but it is very rewarding! You have been warned!

Ingredients (Ounces):

Base:
4 oz Plain Flour
2 oz Golden Caster Sugar (Or just ordinary caster)
4 oz Margarine

Caramel:
4 oz Soft Brown Sugar
4 oz Margarine
2 tbs Golden Syrup
1/2 tin of Nestle Condensed Milk

Chocolate:
4 oz of Chocolate (My granny uses Bournville but if you don't like that then use a chocolate of choice)

Ingredients (Grams):

Base:
115g Plain Flour
55g Golden Caster Sugar (Or just ordinary caster)
115g Margarine

Caramel:
115g Soft Brown Sugar
115g Margarine
2 tbs Golden Syrup
1/2 tin of Nestle Condensed Milk

Chocolate:
120g of Chocolate

Method:

Base
1. Preheat oven to 180°c or Gas Mark 4.
2. Beat the sugar and margarine together in a bowl and then add the flour.
3. Spread the mixture evenly on the bottom of a tray (I would recommend either greasing the tray or putting down some greaseproof paper).
4. Bake in the oven for 25-30 minutes then leave to cool completely before you move on to the next step.

Caramel
1. In a wet pan add the margarine, golden syrup and brown sugar.
2. Over a medium heat melt together and stir constantly.
3. Once everything has melted add the condensed milk and bring the mixture to a boil, keep stirring to prevent the mixture from sticking. Be careful at this point, caramel burns are particularly nasty (I know from experience!)
4. Do this for about 5-7 minutes until the mixture is firmer, try not to over do it because it will become too chewy and under doing it will mean it's too soft. It's quite precise and it will take practise.
5. Take off the heat and pour on to the COOLED shortbread base and evenly spread. I would also then put some hot water in the pan to stop the leftover from sticking.
6. Leave to cool on the side or in the fridge, you can't put the chocolate on until it's cooled.

Chocolate
1. Melt the chocolate in a bowl over a pan with boiling water (or if you're my mother and granny the microwave will do just fine, however, be careful the chocolate doesn't burn!)
2. Remove from the heat and then pour over the caramel and spread.

Once it's cooled again you can cut into slices. Enjoy, I know I do :)

- Emma xxx

Wednesday, 22 February 2012

Nigella's Cream Cheese Brownies

This recipe is amazing and needs to be shared. It originally comes from Nigella's 'How to be a Domestic Goddess' and I was first introduced to the recipe in Russia. Me and my boyfriend were staying with my Mum's cousin and one night this appeared. It was made with a Russian variant of cream cheese though and we had real trouble guessing what it was! It was simply fantastic though so I thought I'd give it a go. I've changed the recipe slightly... adding more chocolate to a Nigella recipe seems bonkers but hey ho. And I've also decided to make it gluten free, though you can just use normal flour if you wish. My friend Claire and I also tried these as cupcakes and although super yummy it was really difficult to get then out of the cupcake cases. So I would recommend using this as a tray bake.

You can leave out the cheese for an epic brownie recipe but I would really recommend trying it. It's a sort of chocolate cheesecake taste and you can put in as little (or as much!) as you like but give it a go!

Ingredients:

150g of Dark and Milk Chocolate (to taste)
125g Unsalted Butter
2 Eggs
200g of Golden Caster Sugar
75g of Gluten free Self-Raising Flour
250g of Chocolate chips or chunks (Cadbury's Giant Buttons work well!)
1 tsp Vanilla Extract
Pinch of salt

200g of Cold Cream Cheese

Method:

1. Preheat oven to 180°c or Gas Mark 4.
2. Melt the butter and the chocolate in a saucepan on a low heat and keep stirring to make sure it doesn't burn.
3. While that melts beat the eggs, sugar and vanilla essence together.
4. When the chocolate and butter has completely melted pour into the eggs and sugar.
5. Mix well before adding the flour.
6. Finally add the chocolate chips. (You could even save some to sprinkle on top.
7. Pour half the mixture in to a fully lined tray. Then slice the cream cheese thinly to cover the layer of brownie. Then add the rest of the mixture and be sure to make sure the cream cheese is covered.
8. Bake in the oven for about 20 minutes and then leave to cool a bit before serving!

For the cupcake version put half the mixture in the cupcake cases then a dollop of cream cheese then cover with the mixture.

- Emma xxx

Ginger Biscuits

This recipe originally comes from my Mum's aunt, these were a regular at family events and I must say the entire family would always tries and replicate the success. The recipe I have is in ounces but I've updated the recipe a little and I'll also suggest a few variations. Handy tip, this recipe works really well with gluten free flour.

Ingredients:

175g Self-Raising Flour
90g Margarine
90g Caster Sugar
3 tbs of Golden Syrup
1 tsp Ginger
1 tsp Baking Powder

Method:

1. Preheat Oven to 180°c or Gas Mark 4.
2. Cream the margarine and sugar together.
3. Mix the Flour, Ginger and baking powder in a separate bowl then add to the butter and sugar.
4. Finally, add the Golden Syrup and mix well.
5. Place the mixture on to the baking sheet but roll them in to small balls and separate them out to account for spreading.
6. Cook for about 10-15 minutes.
7. Once out of the oven leave to cool on the tray for five minutes before transferring to a cooling rack. This is SO important because the ginger biscuits are still browning and soft, if you take them off the tray straight away they'll just collapse.

I made these for Christmas and put 8 in a lakeland festive bag and gave them out as presents. They keep really well in storage and we really enjoyed them in our tea. Other variations include a cinnamon version where you just put 1 teaspoon of cinnamon in instead of ginger. Also, chocolate chips (white, dark or milk), about 100g work really well with the ginger. So just have fun with it!

- Emma xxx

Thursday, 12 January 2012

Sugarcraft Workshop (and update)

I realise I haven't posted in a while but with Christmas, an exam and an essay to write I was slightly preoccupied. Apparently not occupied enough to not bake but oh well, it just means you've got lots of recipes to look forward to! Including millionaire's shortbread, ginger biscuits, Christmas cupcakes and more!

This post isn't really going to be a recipe, however, more...showing off? Well not really, it's just going to be about this workshop I did in York just before Christmas. If anybody is interested here's her website:

Cakes Unlimited

I went for four hours and it was a Christmas themed class decorating cupcakes and cake balls. I also made a little snow man which was really good fun. We went through how to make Italian meirange butter cream (which was VERY yummy), some basic piping and then sugar craft. The sugar craft was pretty much brand new to me but I really enjoyed all the intricate work that went in to it and now that I know the basics I'm sure you'll see an awful lot me of it!

Anyway, here's some pictures of the final products. (Will post some recipes soon, promise!)

- Emma xxx

Tuesday, 29 November 2011

Mince Pies

Perfect for the festive season! Super easy to make and really tasty. You can either buy mincemeat or make your own but I would really recommend making your own pastry because that's what really makes it! The pastry recipe comes from the Good Food website but I felt the mix was a bit dry which is why I add an egg yolk - it also makes it easier to roll out.

Ingredients:

(Pastry)

225g cold butter , diced
350g plain flour
100g Caster sugar
1 Egg Yolk

(Mincemeat)

300/400g Mincemeat Shop bought or make your own.

The best recipe for this I know of is Delia and you can find it here:

Delia Smith's Mincemeat Recipe

(Extra)

1 Egg (Beaten)
Icing sugar to dust the mince pies with

Method:

1. Preheat the oven to 200°c.

2. To make the pastry, rub the butter into the flour to form breadcrumbs. Then mix in the sugar and the egg yolk.

3. Squeeze the mix into a ball, kneading slightly. You can either use the dough straight away or chill it for 20 minutes.

4. Roll out the mixture on to a floured surface and cut rounds the same size as your cupcake tin. Then line the tins with the rounds. (The mix should make between 12-18 mince pies)

5. Spoon a good teaspoon of mincemeat on to each round and then place another round on top, sealing the edges with your fingers.

6. Brush the tops of the pies with the beaten egg and then bake in the oven for 20 minutes. Once out of the oven leave to cool in the tins for five minutes before transferring them to the cooling rack.

7. Dust the mince pies with icing sugar before serving. Enjoy warm or cold.

Sunday, 20 November 2011

Pudsey Bear Biscuits (Gluten Free)

These are the Pudsey bear biscuits I made for children in need but this is a gluten free recipe. Bit if you want to just use normal flour it's the same amount. This recipe is from the Lakeland cookie cutter, the recipe on the back. I just used gluten free flour instead and added a bit more sugar to over power the flour taste. This recipe would be good for normal shaped busicuits too I just made these with the cutter.

Ingredients:

100g Plain Gluten Free Flour
50g Corn Flour
60g Caster Sugar
100g Butter or Margarine

(For Chocolate cookies 25g Cornflour & 25g Cocoa Flour. These taste slightly better as they hide the gluten-free flour taste.

Method:

1. Preheat oven to 180°c.

2. Weigh everything in to a large mixing bowl and then rub all the ingredients together till you get a breadcrumb texture.

3. Then squeeze the mixture together to form a dough.

4. Dust a clean surface with flour and roll the ball of dough out quite thinly (and evenly!).

5. Using the cookie cutter (whatever you choose) cut out your cookie shapes and place on a baking tray.

6. Repeat the process until you've used all the mixture.

7. Chill the baking trays in the fridge for about five minutes and then place in the oven for 10-15 minutes depending on thickness.

8. Remove the cookies from the oven and leave to cool on the baking tray for five minutes before you take them off and place them on cooling racks.

9. DECORATE! - For the pudsey bear cookies I piped on the face features in black and smeared a bandage on. The bandage was made using just icing sugar and water. I then chose to decorate him retro style with just the red spots on the badage.

10. Enjoy, whether you are a celiac or not. Everyone in my house seemed to like them so that's always good news!

Sunday, 13 November 2011

Tips for a White Sauce

I learnt how to make a white sauce in middle school and never looked back. There's something so wonderful about a nice thick white sauce. It's so useful to know how to make one too. You can make a cheese sauce for pasta, the white sauce on top of a lasange or a parsley sauce to go with your roast ham on a sunday. It's by far my favourite sauce but there are some easy to make mistakes with this seemingly simple sauce!

You need: Butter, Flour and Milk for the basic sauce but you can add to it at the end - cheese, parsley, chilli, bacon, the list goes on!

1. Melt a good knob of butter in the saucepan.

2. Slowly add a little flour at a time using a wooden spoon. Try to get the mixture to a warm bluetack consistency.

3. Once you have your rue start adding the milk. If you want a really thick sauce it would be better to add tiny amounts of milk to the mixture and stirring in till combined. It's a long process but it does pay off, I find this is better than just pouring all the milk in at once.

4. Once the mixture is starting to look runny add in the remainder of the milk and whisk.

5. Once you've whisked the sauce go back to your wooden spoon, turn the heat up a little bit and keep stirring until your sauce has thickened. Don't add Flour (unless you really need to) just have faith. Once the sauce is thick enough add any extras, but still add the salt and pepper to taste even if you're not adding more.

6. Use on lasange, pasta, potatos, roast dinner...anything!

Hope this guide helps, it's so much better than buying a sauce ready made and so much cheaper!!!

Saturday, 12 November 2011

The 5 Minute Mug Cake

This is a must for students (or if you're just peckish and need something NOW!) It's not as good as the real thing but it comes awful close. All you need is a largish mug and a tablespoon.

Ingredients:

4 tbs Self-raising Flour
4 tbs Caster Sugar
1 Egg
3 tbs Milk
3 tbs Oil
1/2 tbs Vanilla Extract
Pinch of Salt

(For the chocolate version add 2 tbs Cocoa Powder and 3 tbs Chocolate chips)

Method:

1. Add dry ingredients to mug and mix well. Add the egg and mix thoroughly.

2. Add the milk and oil mixing well.

3. Add any other ingredients and stir until fully combined.

4. Place the mug in the microwave (maybe on a small plate just incase!) and cook of a high heat for 3 minutes.

5. Watch your cake grow! Don't be too alarmed if it goes over the top! Once it's cooked allow to cool a bit before tipping the cake out on to a plate.

6. Enjoy cold or warm with some ice-cream!

Please comment with pictures if you try making it, they tend to make rather ugly (yummy) cakes but there's something lovely and rustic about that! Have fun with this recipe, it is a lot like a school science experiement!

- Emma xxx

Spinach, Ricotta & Pea Tart(s)

Great dish for dinner (hot) or next day cold for lunch. Quite easy to make and a really nice vegetarian dish!

Ingredients:

1 tub of Ricotta (usually 250g)
3 Eggs
4 Frozen cubes of chopped Spinach (They'll be in most frozen sections in the supermarket)
1 Large Red onion
Peas (up to you how many!)

+ Puff pastry, either some you've made or shop bought. If I'm honest I have no desire to make puff pastry and for a quick meal in the evening I would recommend buying it but if you have the time go ahead!

Method:

1. Preheat oven to 180°c.

2. Finely chop the onion and gently fry along with the frozen spinach. Don't let it burn but keep going until all the spinach has melted.

3. In a large mixing bowl whisk the eggs and the ricotta together until smooth. Add some salt and pepper and if you fancy you can also add some milk or cream, but not too much.

4. Boil some peas for a few minutes while you sort out your pastry.

5. Pastry. Now it's up to you how big/small you make these. I've made them in muffin tins (could be good for parties), Yorkshire pudding tins (as seen below) or a tray bake. It's completely up to you! Roll out the pastry and line your chosen dish.

6. Drain the peas and add them to the egg and ricotta mix then add the spinach and onions.

7. Spoon the mixture into the pastry and try not to overfill.

8. Bake in the oven for 20-40 minutes depending on how large your tarts are.

9. Serve with veg and mash for dinner or cold with salad the next day for lunch!

Great hot or cold dish, maybe make one too many for your lunch the next day!!

- Emma xxx

Easy Peasy Chocolate Cake

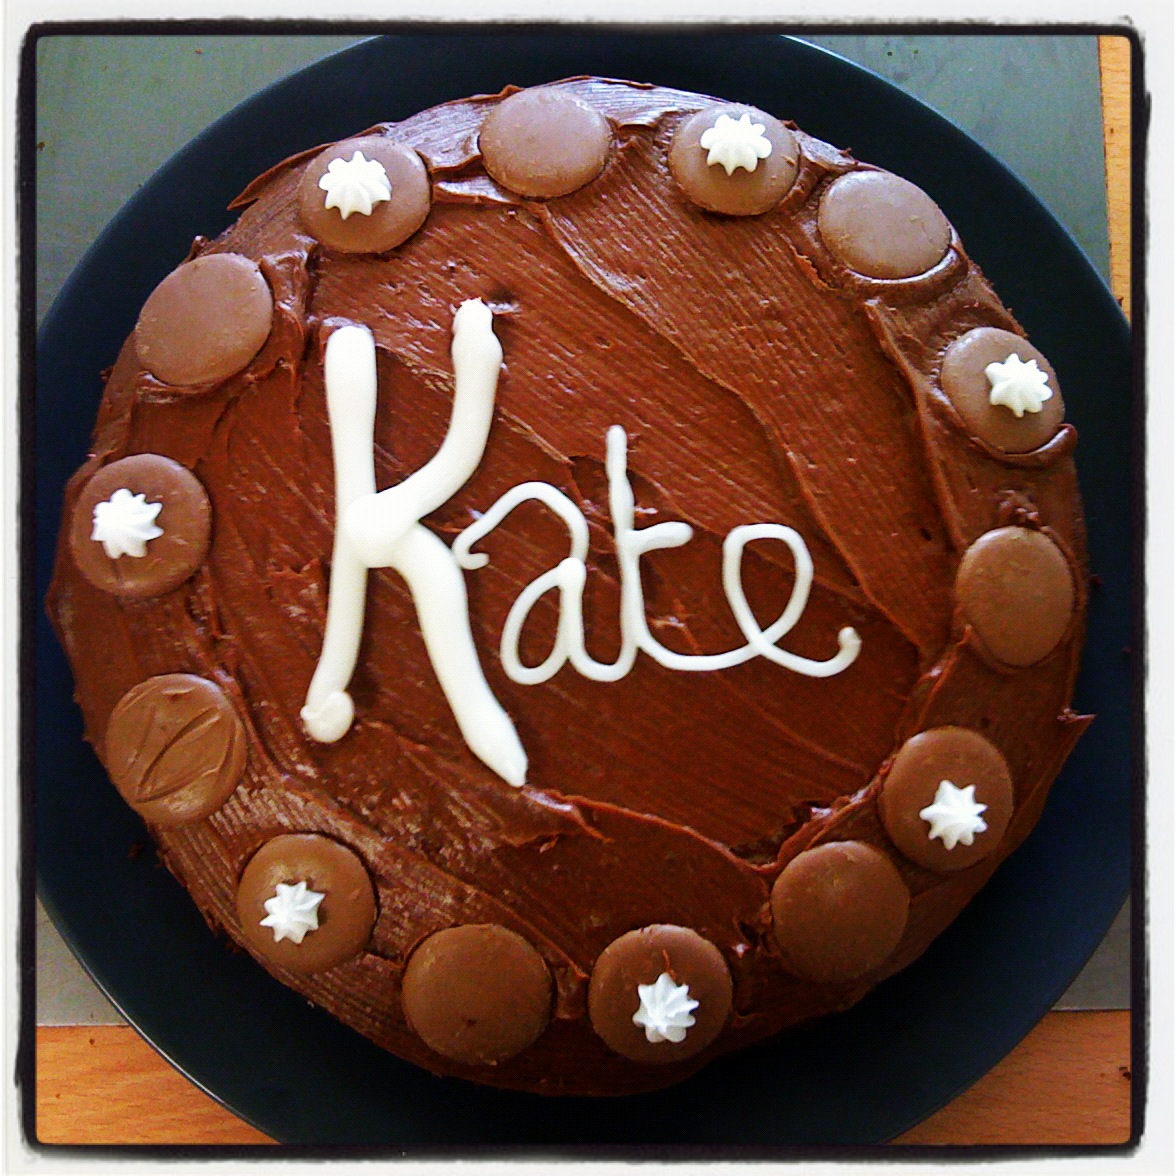
This recipe I've been using for a while, can't remember where it came from and I've definitely changed parts here and there but it's really easy to make and never fails (plus is tastes great!)

Ingredients:

275g Self-raising Flour
225g Margarine
225g Golden Caster Sugar (Or just Caster Sugar)
4 Eggs
20/30g Cocoa Powder
4 tbs Milk
1 tsp Baking Powder
1 tsp Vanilla Extract

Method:

1. Preheat oven to 180°c.

2. Beat the butter and the sugar together until fluffy and then add the milk.

3. Add the beaten eggs (adding a little flour if it curdles). Then add the Vanilla.

4. Slowly add the dry ingredients and fold in.

5. Spoon into the cake tin or cupcake cakes and bake for 20-45 minutes depending on what you're using. Cup cakes take less time than a large cake.

6. Once the cake is cooked put on a cooling rack and once it's cooled you can start to have fun decorating! Chocolate butter cream goes really well with this to give you a chocolate explosion.

7. Enjoy!

I tend to use this recipe for birthday cakes because it is so easy to make, tastes great but it is also really easy to manipulate. It's light and fluffy but it doesn't fall apart when you try and cut it. Great all rounder!

- Emma xxx