Saturday, 10 March 2012

Gluten Free Cinnamon Cupcakes

I originally did this just before Christmas as I love cinnamon and it just feels so christmassy to me. I've done slight variations like cinnamon and ginger so feel free to add some ginger as well but I thought I'd just give you the basic recipe. I have stated these as gluten free but it's not difficult to change that to normal flour if you don't want to make them gluten free. Decorate as you wish but I tend to use a cinnamon or ginger (or both!) butter cream.

Ingredients:

180g Gluten-free Self-raising Flour
180g Butter or Margarine
180g Demerara Sugar
4 Eggs
1 tsp of Cinnamon (and or 1 tsp of ginger)
1 tsp of Gluten-free baking powder

For the icing:
100g Butter
200g Icing Sugar
1 tsp of Cinnamon (or 1tsp of ginger)

Method:

1. Preheat oven to 180°c or Gas Mark 5.
2. Cream the butter and the sugar together, it won't be as using caster sugar but the brown sugar caramelises well with the cinnamon.
4. Whisk the eggs in a separate bowl and mix really well because gluten free needs help to rise. (I sometimes even separate the eggs and whisk them, the egg whites really help it to rise.)
5. Weigh the dry ingredients in a bowl and stir together.
6. Then about a quarter of the eggs to the butter and sugar. Beat together and add some flour if the mixture starts to curdle. Keep doing this until all the egg is combined with the butter and sugar.
7. Slowly add the flour and fold in with a large metal spoon so not to overwork the gluten, this will help your cupcakes rise.
8. Spoon the mixture into cupcake cases, try and get them all level.
9. Bake for about 15 - 20 minutes depending on how hot your oven gets and how big your cases are.
10. Leave to cool before decorating.

11. For the icing beat the ingredients together until smooth then either spread or pipe the icing on to your cakes.

- Emma xxx

Cupcakes

This is a simple recipe for one of my favourite things to bake (and eat!) I love to decorate them and I always think they look really pretty. Anyway, this is just a simple but full-proof recipe for cupcakes. Either vanilla or chocolate ones. Really easy to bake and then you can have lots of fun decorating them, they work for birthdays, holidays or just because. Makes 12 -18 depending on how big your muffin cases are.

Ingredients:

200g Butter or Margarine
200g Caster (Golden) Sugar
200g Self-raising flour
4 eggs
Pinch of Salt
1 tsp Baking Powder
1 tsp Vanilla extract

For the chocolate version have 180g of self-raising flour and between 20-40g of cocoa powder depending on how chocolatey you want them.

Method:

1. Preheat oven to 180°c or Gas Mark 5.
2. Cream butter and sugar together.
3. Whisk eggs in a separate bowl to get lots of air in.
4. Weigh all the dry ingredients in another bowl and mix together.
5. Add the vanilla extract to the butter and sugar then about a quarter of the eggs. Beat together and add some flour if the mixture starts to curdle. Keep doing this until all the egg is combined with the butter and sugar.
6. Slowly add the flour and fold in with a large metal spoon so not to overwork the gluten, this will help your cupcakes rise.
7. Spoon the mixture into the cupcake cases, a little over half way to account for rising. Try and make sure they're all level so you can achieve a nice effect when they're displayed.
8. Bake for between 15 - 20 minutes depending on how big your cupcakes are.
9. Leave to cool completely before decorating otherwise your hard work will just melt!

Display your cupcakes in a fun way, my favourite is a stand that my mum got us and they just look fantastic.

- Emma xxx

Sunday, 4 March 2012

Shortbread

This is a recipe for simple shortbread. This mix usually makes 2 ten inch rounds of shortbread. Add anything you like but I like it plain.

However! (My new favourite ingredient) Chocolate Phillidelphia is lovely spread on the top.

Ingredients:

100g Caster Sugar
200g Cold Butter
300g Plain Flour

Method:

1. Preheat oven to 160°c or Gas Mark 4.
2. Dice the butter and place in a bowl.
3. Rub the flour into the butter with your fingertips until it looks like breadcrumbs.
4. Stir in the caster sugar but don't overwork it and don't squish it together, let it resemble crumbs.
5. Add any other ingredients at this point like currants or chocolate chips.
6. Put half the mixture in each round tin (or whatever you want to use) Don't pat down too much but smooth it out. Then pat down around the edges.
7. Sprinkle some extra caster sugar on top of each round before putting in the oven.
8. Bake in the oven for about 30-35 minutes until it just starts to brown.
9. Remove from the oven and leave to cool before cutting up.

- Emma xxx

Thursday, 23 February 2012

Caramelised Onion Sausage Rolls

My favourite type of sausage is caramelised onion and the inspiration for this recipe came out of this favourite. It's really simple and I'll even allow you to buy the pastry. This is simply because no one really has enough time to make puff pastry unless they have all day. Anyway, have it with anything at dinner, mash goes well and it's even great the next day for lunch! This recipe is for 4 sausage rolls.

Ingredients:

400-500g of Sausage meat (Or 8 de-skinned sausages)
2 large onions
1 tbs of Brown Sugar
Pinch of Salt
Good Helping of Pepper
And herbs or your choosing
(I even add a couple of cubes of chopped frozen spinach to the onions)

1 Jus-roll Puff Pastry Block

Method:

1. Preheat oven to 200°c or Gas Mark 6.
2. Dice your onions and cook with oil in a pan.
2. Once the onions are browning add the sugar and caramelise the onions. (Once they're caramelised I add the spinach)
3. Empty the sausage meat in to a bowl and add the salt, pepper and herbs. Stir well.
4. Then add the onions (and spinach) and stir well to make sure it's mixed well.
5. Cut the puff pastry block in to quarters.
6. Roll each quarter of pastry in to a rectangle and place a quarter of the sausage mixture at one end of the pastry. Roll the pastry and crimp at the edges. Repeat this four times.
7. Place the 4 rolls on a baking tray and bake for about 25 minutes or until golden brown.
8. Serve with whatever you like!

I would bare in mind that these sausage rolls are quite big but you could use these ingredients and method to make smaller ones if you wish!

- Emma xxx

Caramel (Millionaire's Shortbread)

The outcome of this recipe is my favourite. If I was given the question of "You can only have ONE recipe, which one?" I would choose this. It's my granny's recipe and every time we visit it's there (along with the potato scones) and sometimes it might not even be Scotland without it. The actual name for this is Millionaire's Shortbread but I guess that's hard to say when you're 4 so it's 'Caramel' to me and all of my Dad's family. I will never be as good as my granny at making it but I haven't been making it quite as long. The original recipe is in ounces but I'll also give a grams equivalent. It's quite a tricky recipe but it is very rewarding! You have been warned!

Ingredients (Ounces):

Base:
4 oz Plain Flour
2 oz Golden Caster Sugar (Or just ordinary caster)
4 oz Margarine

Caramel:
4 oz Soft Brown Sugar
4 oz Margarine
2 tbs Golden Syrup
1/2 tin of Nestle Condensed Milk

Chocolate:
4 oz of Chocolate (My granny uses Bournville but if you don't like that then use a chocolate of choice)

Ingredients (Grams):

Base:
115g Plain Flour
55g Golden Caster Sugar (Or just ordinary caster)
115g Margarine

Caramel:
115g Soft Brown Sugar
115g Margarine
2 tbs Golden Syrup
1/2 tin of Nestle Condensed Milk

Chocolate:
120g of Chocolate

Method:

Base
1. Preheat oven to 180°c or Gas Mark 4.
2. Beat the sugar and margarine together in a bowl and then add the flour.
3. Spread the mixture evenly on the bottom of a tray (I would recommend either greasing the tray or putting down some greaseproof paper).
4. Bake in the oven for 25-30 minutes then leave to cool completely before you move on to the next step.

Caramel
1. In a wet pan add the margarine, golden syrup and brown sugar.
2. Over a medium heat melt together and stir constantly.
3. Once everything has melted add the condensed milk and bring the mixture to a boil, keep stirring to prevent the mixture from sticking. Be careful at this point, caramel burns are particularly nasty (I know from experience!)
4. Do this for about 5-7 minutes until the mixture is firmer, try not to over do it because it will become too chewy and under doing it will mean it's too soft. It's quite precise and it will take practise.
5. Take off the heat and pour on to the COOLED shortbread base and evenly spread. I would also then put some hot water in the pan to stop the leftover from sticking.
6. Leave to cool on the side or in the fridge, you can't put the chocolate on until it's cooled.

Chocolate
1. Melt the chocolate in a bowl over a pan with boiling water (or if you're my mother and granny the microwave will do just fine, however, be careful the chocolate doesn't burn!)
2. Remove from the heat and then pour over the caramel and spread.

Once it's cooled again you can cut into slices. Enjoy, I know I do :)

- Emma xxx

Wednesday, 22 February 2012

Nigella's Cream Cheese Brownies

This recipe is amazing and needs to be shared. It originally comes from Nigella's 'How to be a Domestic Goddess' and I was first introduced to the recipe in Russia. Me and my boyfriend were staying with my Mum's cousin and one night this appeared. It was made with a Russian variant of cream cheese though and we had real trouble guessing what it was! It was simply fantastic though so I thought I'd give it a go. I've changed the recipe slightly... adding more chocolate to a Nigella recipe seems bonkers but hey ho. And I've also decided to make it gluten free, though you can just use normal flour if you wish. My friend Claire and I also tried these as cupcakes and although super yummy it was really difficult to get then out of the cupcake cases. So I would recommend using this as a tray bake.

You can leave out the cheese for an epic brownie recipe but I would really recommend trying it. It's a sort of chocolate cheesecake taste and you can put in as little (or as much!) as you like but give it a go!

Ingredients:

150g of Dark and Milk Chocolate (to taste)
125g Unsalted Butter
2 Eggs
200g of Golden Caster Sugar
75g of Gluten free Self-Raising Flour
250g of Chocolate chips or chunks (Cadbury's Giant Buttons work well!)
1 tsp Vanilla Extract
Pinch of salt

200g of Cold Cream Cheese

Method:

1. Preheat oven to 180°c or Gas Mark 4.
2. Melt the butter and the chocolate in a saucepan on a low heat and keep stirring to make sure it doesn't burn.
3. While that melts beat the eggs, sugar and vanilla essence together.
4. When the chocolate and butter has completely melted pour into the eggs and sugar.
5. Mix well before adding the flour.
6. Finally add the chocolate chips. (You could even save some to sprinkle on top.
7. Pour half the mixture in to a fully lined tray. Then slice the cream cheese thinly to cover the layer of brownie. Then add the rest of the mixture and be sure to make sure the cream cheese is covered.
8. Bake in the oven for about 20 minutes and then leave to cool a bit before serving!

For the cupcake version put half the mixture in the cupcake cases then a dollop of cream cheese then cover with the mixture.

- Emma xxx

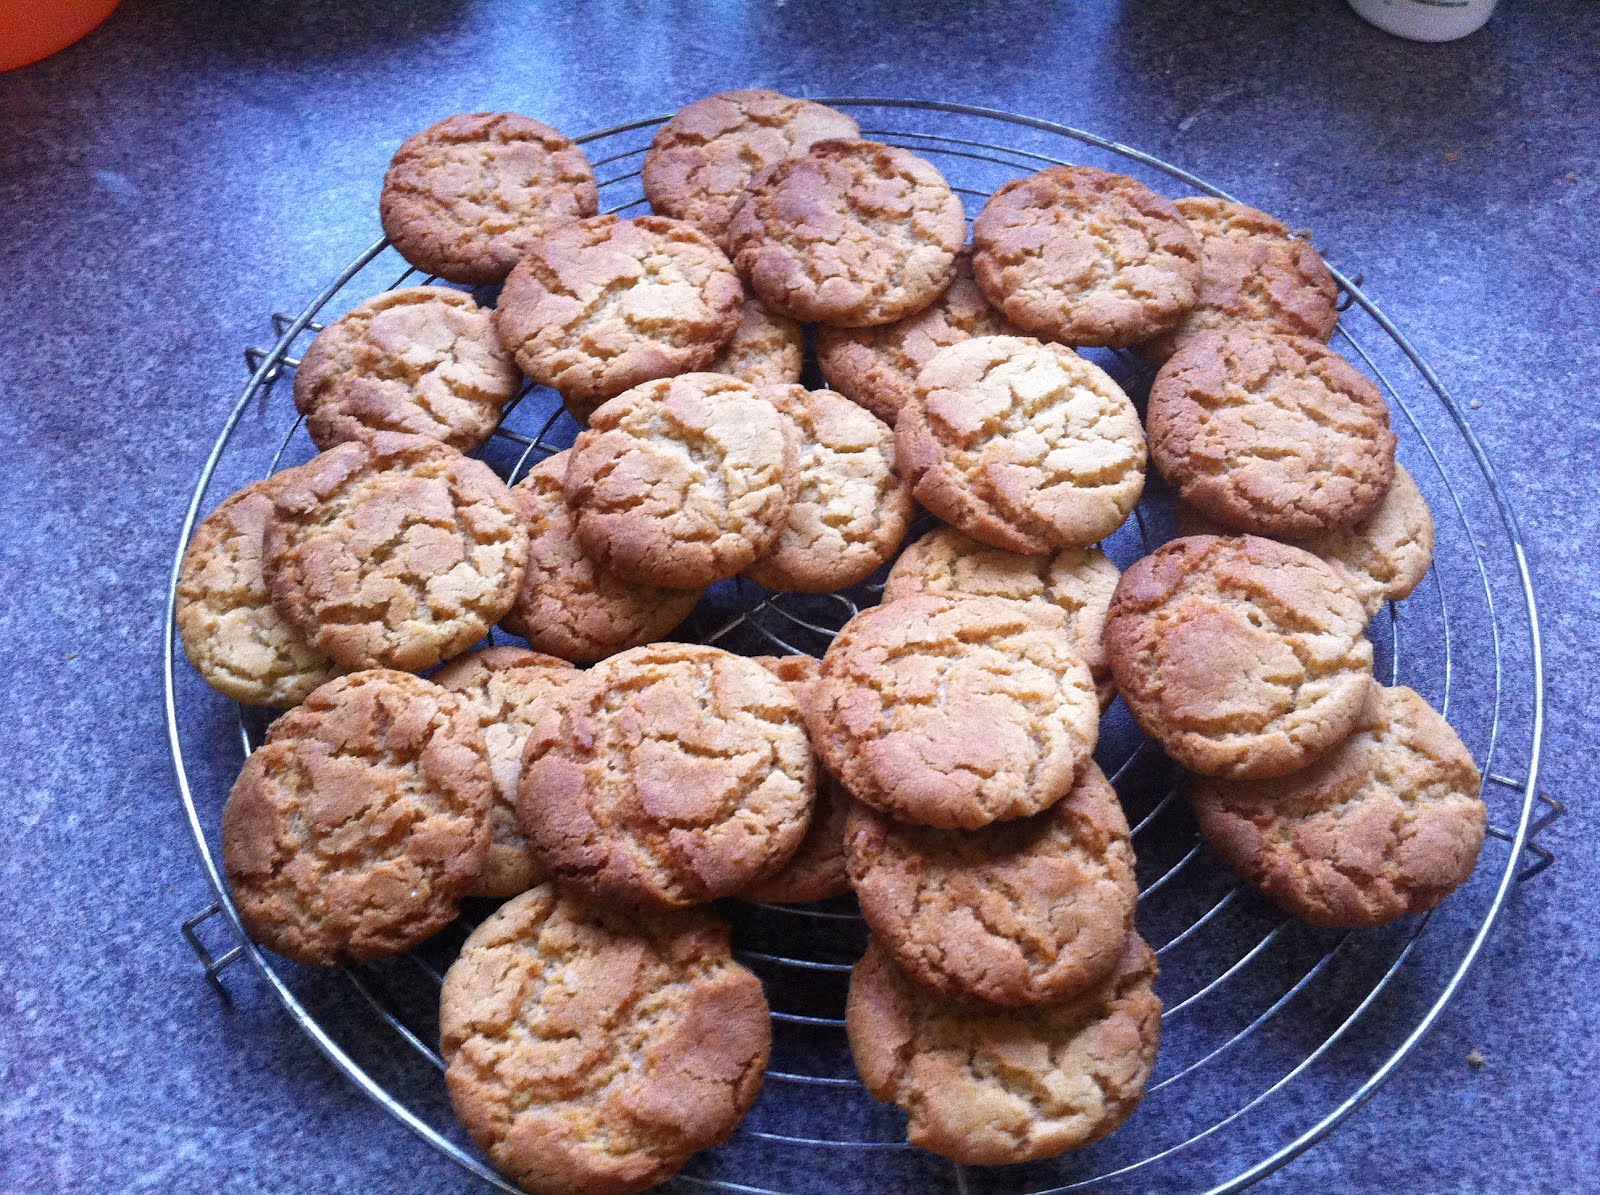
Ginger Biscuits

This recipe originally comes from my Mum's aunt, these were a regular at family events and I must say the entire family would always tries and replicate the success. The recipe I have is in ounces but I've updated the recipe a little and I'll also suggest a few variations. Handy tip, this recipe works really well with gluten free flour.

Ingredients:

175g Self-Raising Flour
90g Margarine
90g Caster Sugar
3 tbs of Golden Syrup
1 tsp Ginger
1 tsp Baking Powder

Method:

1. Preheat Oven to 180°c or Gas Mark 4.
2. Cream the margarine and sugar together.
3. Mix the Flour, Ginger and baking powder in a separate bowl then add to the butter and sugar.
4. Finally, add the Golden Syrup and mix well.
5. Place the mixture on to the baking sheet but roll them in to small balls and separate them out to account for spreading.
6. Cook for about 10-15 minutes.
7. Once out of the oven leave to cool on the tray for five minutes before transferring to a cooling rack. This is SO important because the ginger biscuits are still browning and soft, if you take them off the tray straight away they'll just collapse.

I made these for Christmas and put 8 in a lakeland festive bag and gave them out as presents. They keep really well in storage and we really enjoyed them in our tea. Other variations include a cinnamon version where you just put 1 teaspoon of cinnamon in instead of ginger. Also, chocolate chips (white, dark or milk), about 100g work really well with the ginger. So just have fun with it!

- Emma xxx